Getting Started with Augmented Reality
Installing Everything
- Unity: We'll be working with Unity as our main tool, so download Unity first.
- Vuforia: Unity supports Augmented Reality (AR) applications through the Vuforia plugin. Register for a Vuforia Developer Account on their website. (In our experience, this might take a while.) Then, visit the Vuforia Unity SDK page and click the download link.
- Android SDK: To deploy on Android phones, we need to install the Android Software Development Kit, or SDK. Download the Android SDK.
Create A New Project
This tutorial is adapted from Vuforia's own tutorial.
- Open Unity and go to File > New Project... Select an empty project directory. Deselect all packages.

- In the Project pane, right-click the (empty) assets field and select Import >
- Choose the
vuforia-unity-android-iospackage you downloaded from their website.In the dialog that pops up, click "Import" to import everything.
Adding a Target
AR projects work with a "target". This target is an image that you print out to establish the real-world positions in your scene.
You can't import an image directly for this to work: the image needs to be converted to a "target". This happens on the Vuforia developer site.
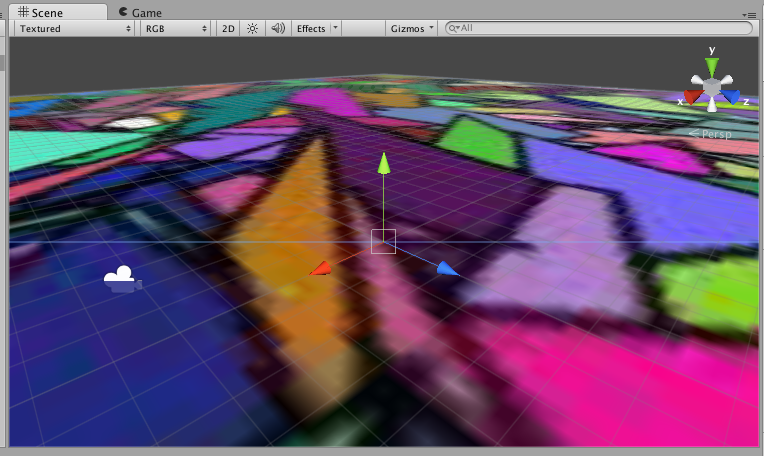
Here's an example marker. It looks horrible but works very well:

- On the Vuforia developer website, go to the Target Manager
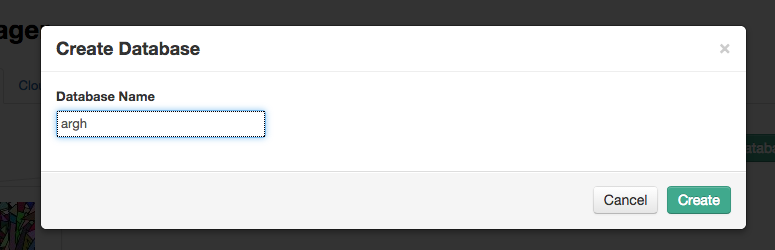
- Click "Create Database". Give it the name of your project.
- Click "Add Target" to upload a target image. Set the width to 100.
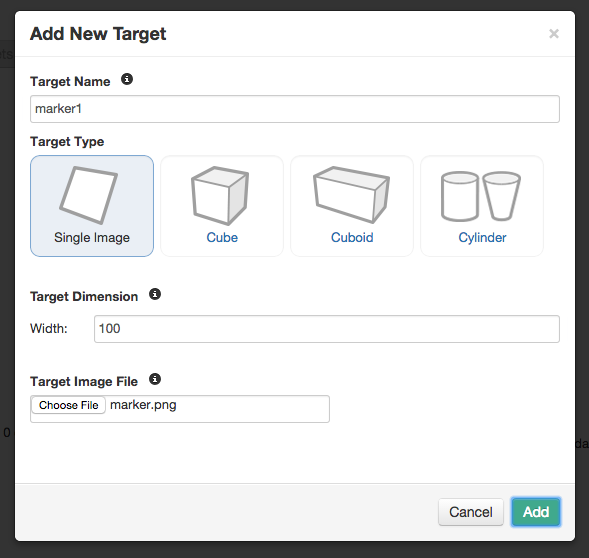
- The target will appear with a star rating. The better the rating, the better the marker will work.
- Click the checkbox next to the target name, then press "Download Selected Targets". Select "Unity Editor" in the dialog that pops up.
- Install the downloaded Unity package: go to Unity, right-click the project pane, select import package and import the target.
Setup the Camera and Target
The way AR works in Unity is that it views the scene through a special camera.
- In the Project pane, expand the "Qualcomm Augmented Reality" folder under Assets, expand "Prefabs", then drag the "ARCamera" into your scene.

- Delete the Main Camera by right-clicking on it in the Hierarchy pane, and choosing "Delete".
- Also from the "Prefabs" folder, drag "Image Target" into the scene. This should set up a plane.
- In the Inspector, set the "Data Set" property to the name of your imported target.
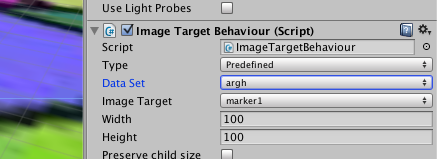
- You should now see your target in the scene.
- Finally, click the ARCamera object. In the Inspector, find the "Data Set Load Behaviour", and click "Load Data Set yourdataset" and "Activate".
Try it out!
To test this on your computer, you should print out your target marker.
If you press the Play icon, Unity will show the result of your webcam. It expects you to hold the target marker in front of the camera, so it can show the objects on there.
Running on Android
- First we need to set some obscure Android settings or it won't work. Go to Edit > Project Settings > Player. No window pops up, but the inspector now has data on the different settings.
- Click the little Android icon.

- In Other Settings > Identification, set the bundle identifier. This is like a domain name, but reversed, e.g.
be.codestudio.Argh.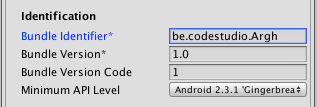
- Now go to File > Build Settings. Under the (empty) Scenes in Build pane, click "Add Current". It might ask you to save the scene first.
- Attach an Android phone using a USB cable.
- Click "Build And Run". The app should start on your Android phone.
- Note that on the phone, you don't need to print out the marker for testing: you can just open the image on your computer and point to the screen.